
 |
LEVEL 1 SHIELD This is a simple shield for moderate combat use. The process is covered here but for information on the specific supplies and techniques click here |
|
CLICK HERE FOR THE VIDEO |
||
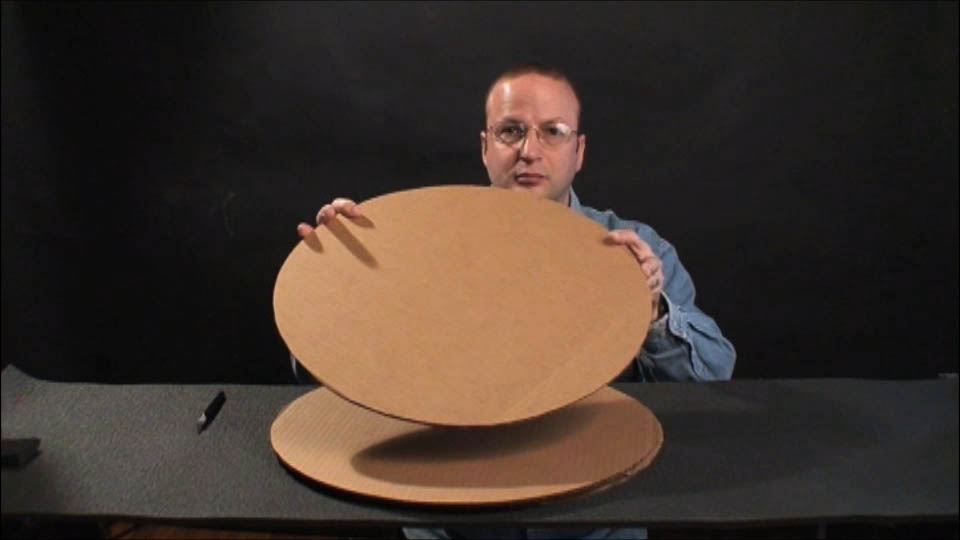 |
Step 1: Using a utility or X-acto knife, cut 4 pieces of cardboard into 18" circles. A simple way to make a circle is to attach a length of string to a pin and a pencil with 9" between them. Poke the pin in the center of the area to be cut and draw with the pencil at the full length of the 9" string. |
|
 |
Step 2: |
|
 |
NOTE: |
|
 |
Step 3: |
|
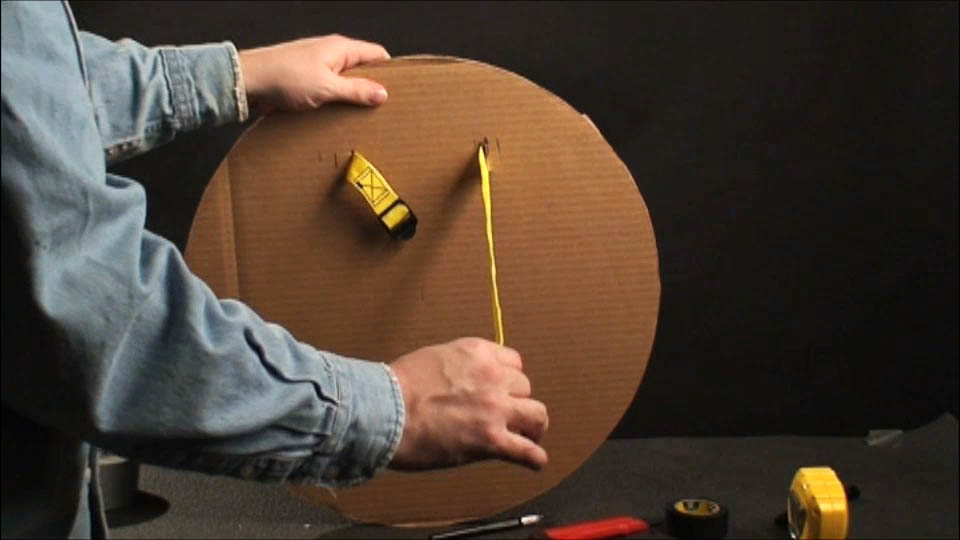 |
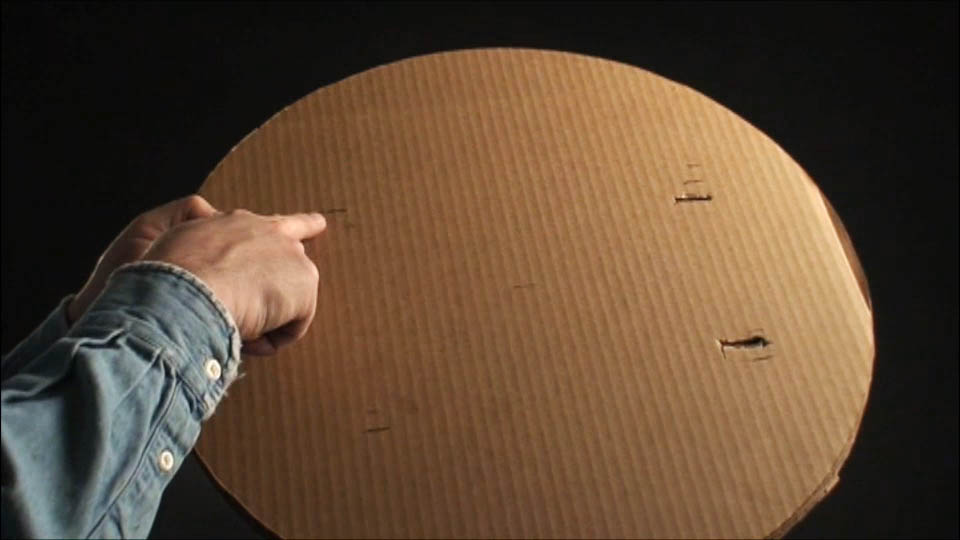
Step 4: Thread the strapping through the slits. The strapping I am using in this project is called, "utility strapping" or Gutter strapping." It can be frequently found in the camping or automotive section of a good department store. Any strong adjustable strapping can be used though. |
|
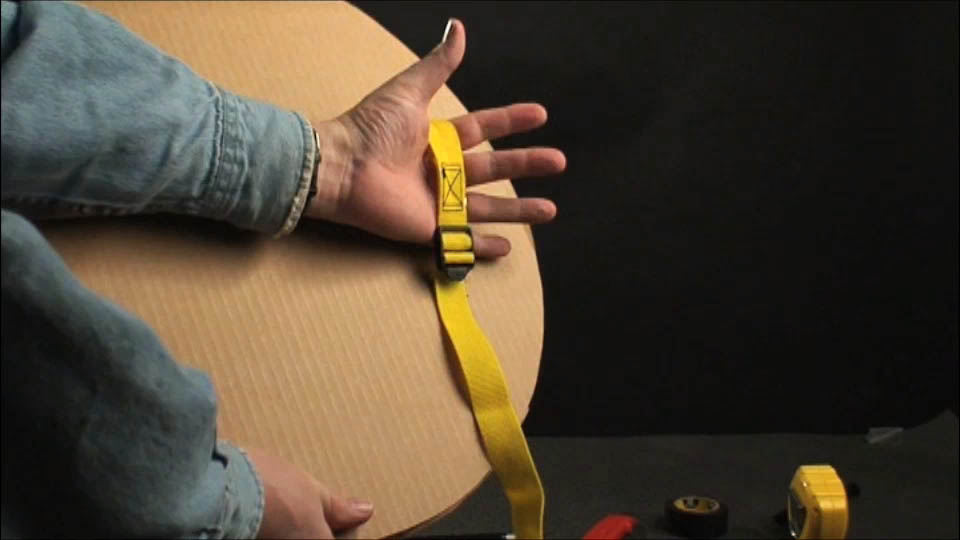 |
Step 5: Adjust the strap so that the plastic coupler is at the bottom of your palm with some room left to tighten if you need it. |
|
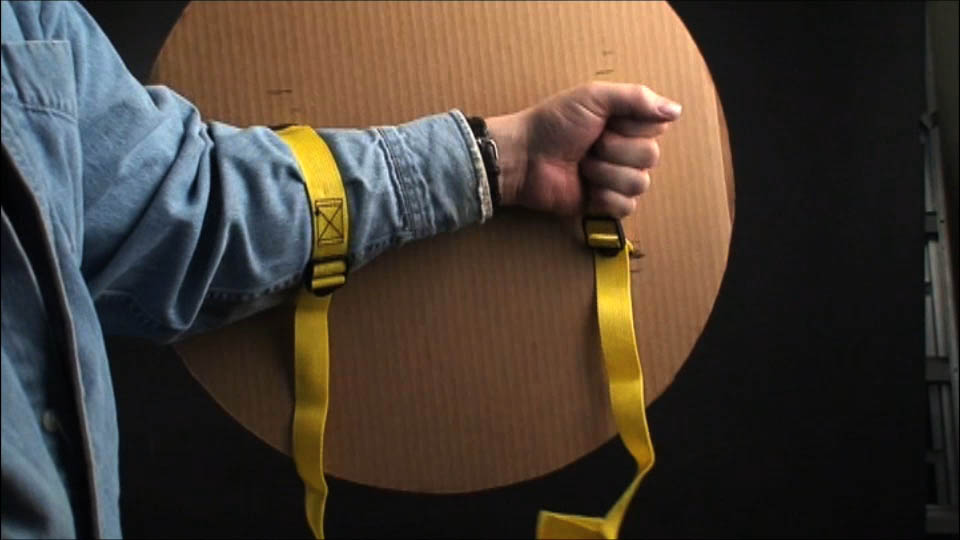 |
Step 6: Do the same with the arm strap, again making sure you have some room for adjustment. Once you feel good about your strapping adjustments, trim the excess but still leave about 6 inches. |
|
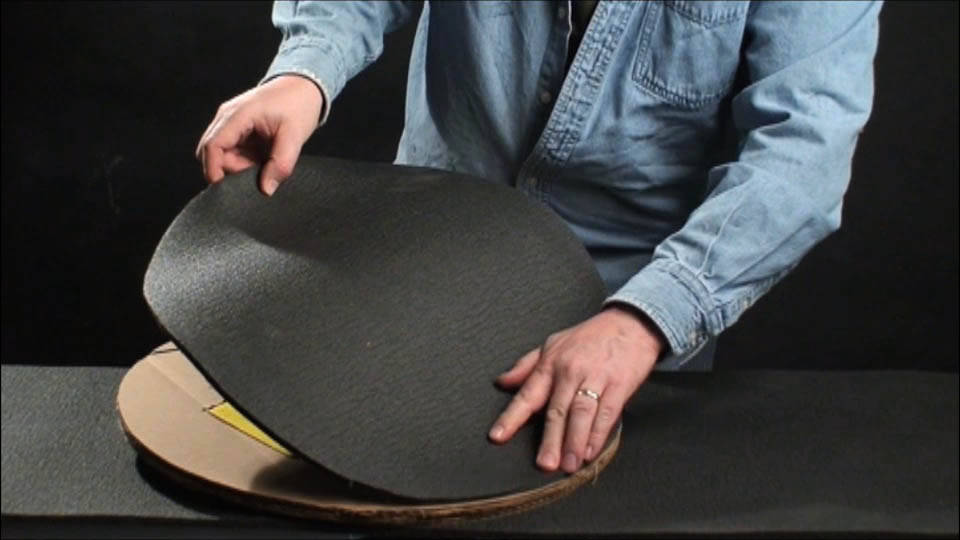 |
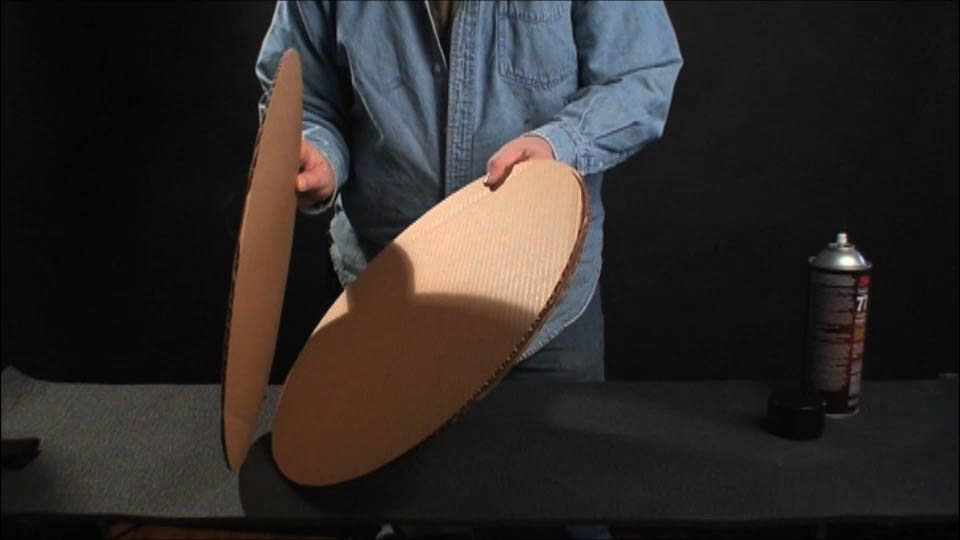
Step 7: Cut an 18" circle of a closed-cell foam camp pad and use the 3M spray adhesive to cover the back of the shield and one side of the foam. After a few minutes, lay them carefully together applying pressure to the full surface to make sure there is good adhesion. |
|
 |
Step 8: |
|
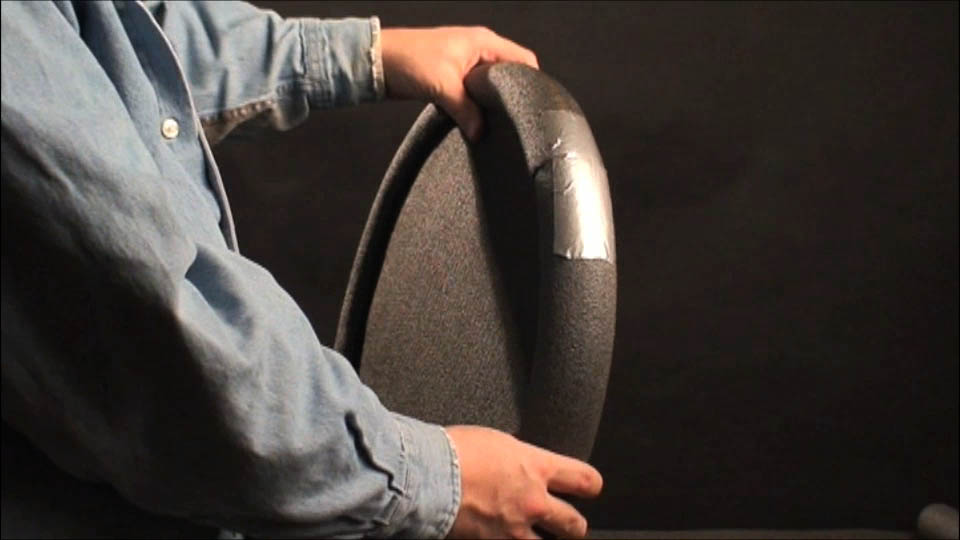 |
Step 9: Using duct tape, secure the seam length wise as shown. |
|
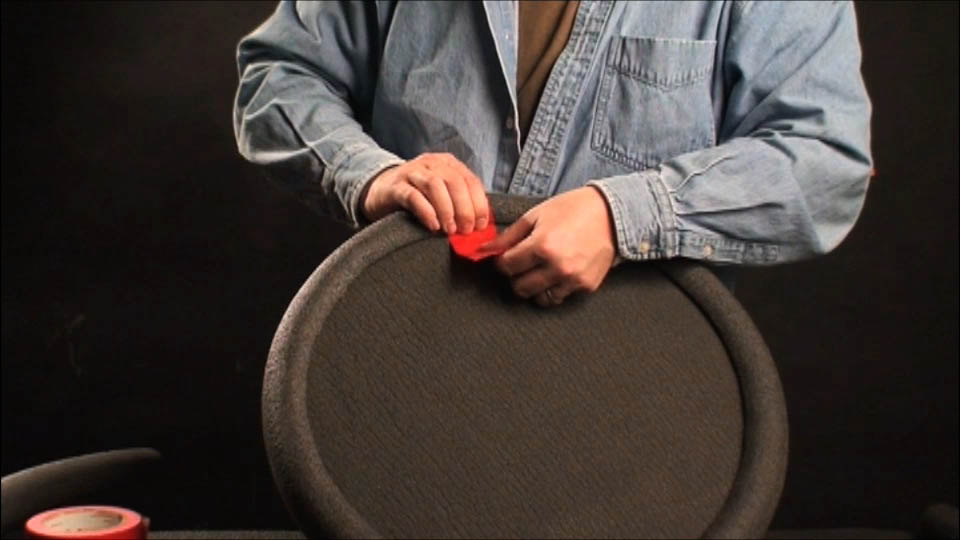 |
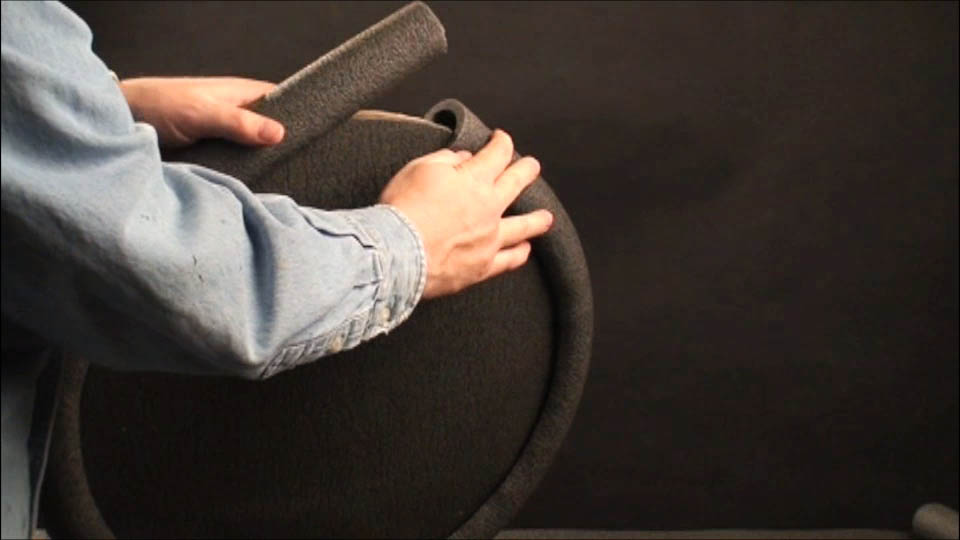
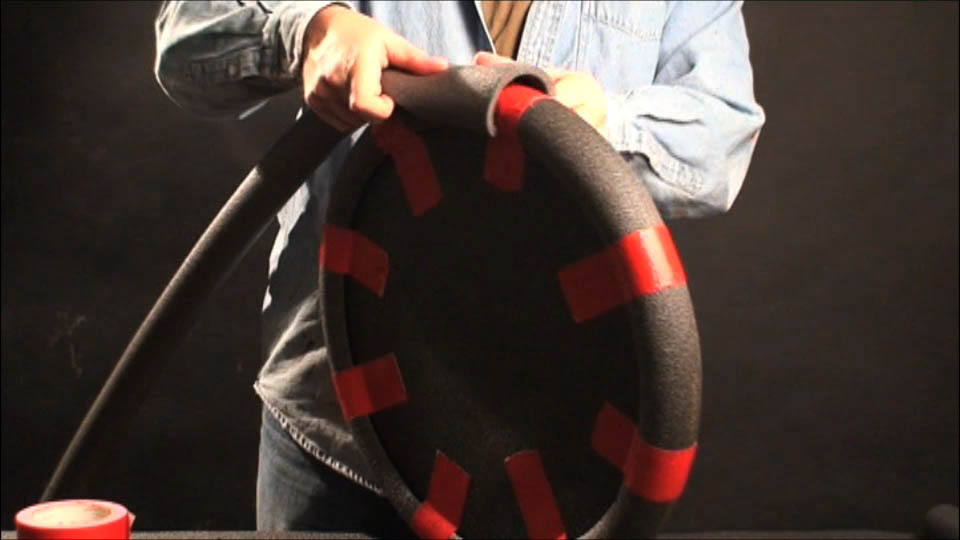
Step 10 Using duct tape (in this example we are using red), secure the pipe insulation foam by taping from the back to the front starting with the seam. |
|
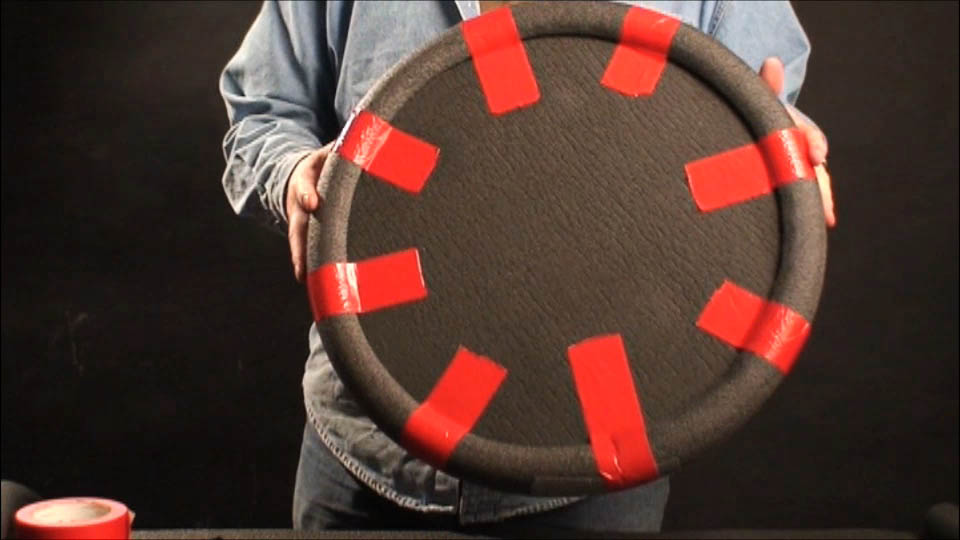 |
Step 11 Continue until you have 8 strips of tape evenly distributed. |
|
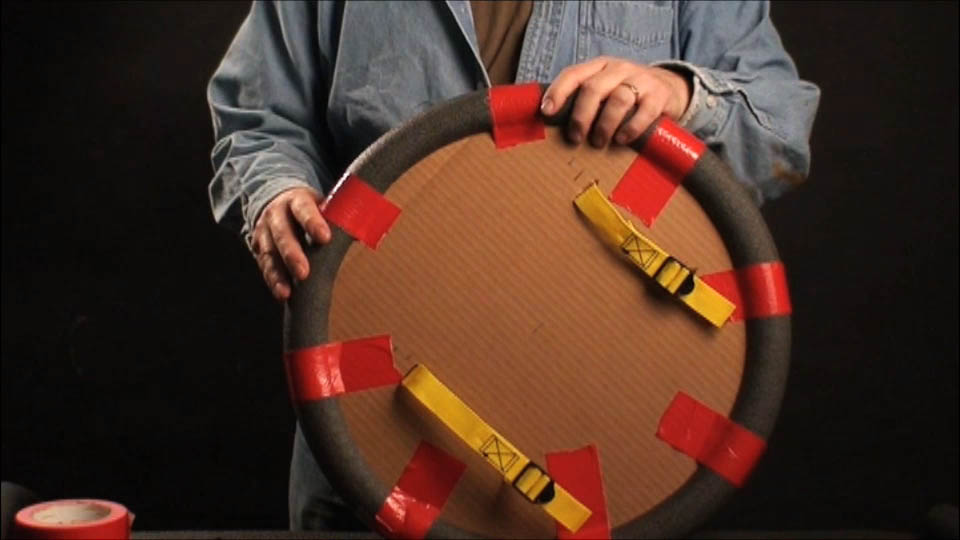 |
Just a view from the back. | |
 |
Step 12 Next take a the larger pipe insulator (3/8" thick for a 1" pipe) and do the same thing as you did with the first layer only start so that the seam will fall on the opposite side of the shield edge from the seam on the first layer. Secure it with a piece of duct tape length wise just like on the first layer. |
|
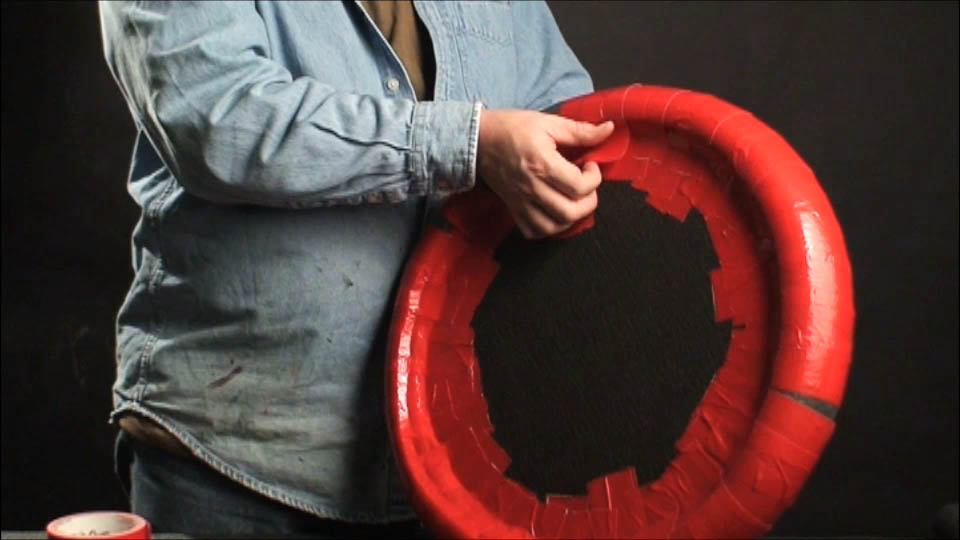 |
Step 13 Cover the whole edge with duct tape. |
|
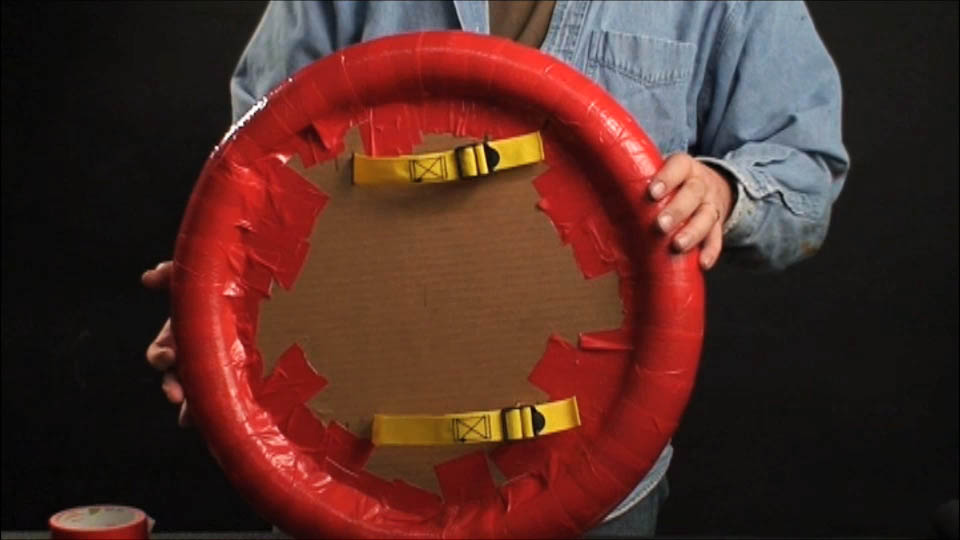 |
view of the back | |
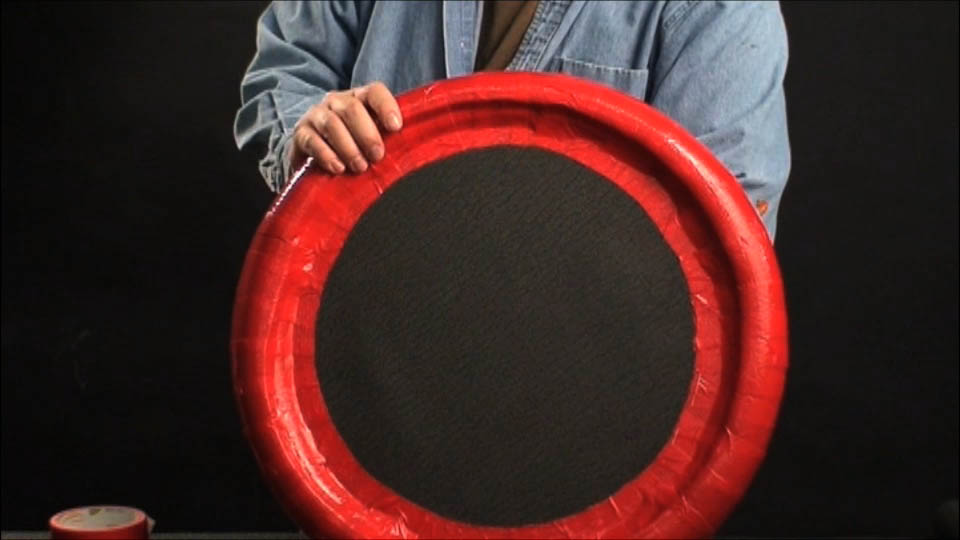 |
Your shield is finished. I've decorated this one by carefully trimming the rough ends of the duct tape on the front of the shield. I used a new X-acto blade and cut just deep enough to get through the tape but not cut into the foam. If you choose to do this, do it soon after applying the tape. If you wait a day or so, some of the foam might come off with the tape. You can decorate it however you like - with additional designs made out of tape, covered in the fabric of your choice or even painted with acrylic or latex paints. Have Fun! |
|